IN SHORT
- Frame space first. Cannot anyhow choose a catalogue shape.
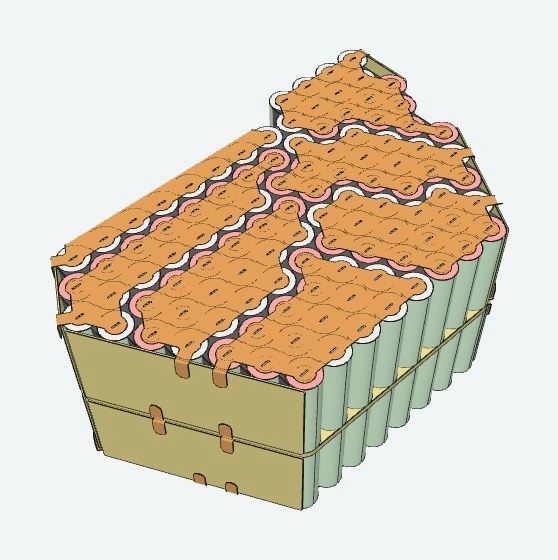
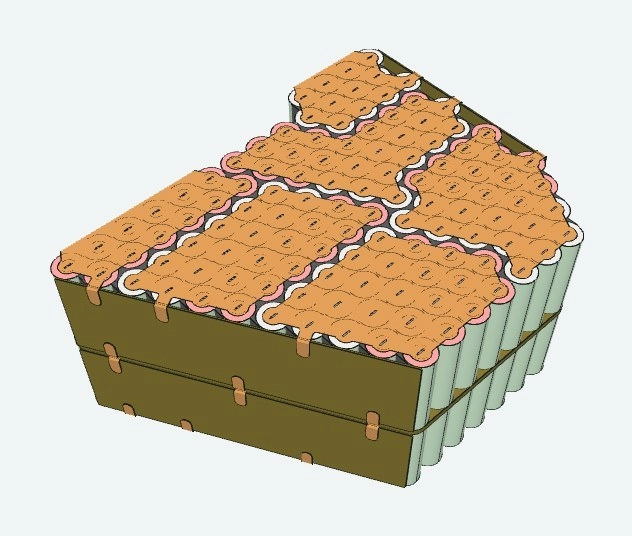
- We drew this 20S10P layout in DogeTune Builder before cutting copper.
- Holder, rings, copper, wrap and case follow the same outline.
A CHAT WE SEE A LOT
R
Rider
bro my light bee range damn sad
can just buy the big 72v square pack from carousell then zip tie at the side?
WTF cheebye
brother battery not like bubble tea can liddat anyhow hand one eh
later fly then passaway
then how
take a few photo of your battery compartment measurement first
or come down we measure for you, build you one proper battery
confirm you like
better then you buy casablanca battery anyhow strap
That frame gap very fussy
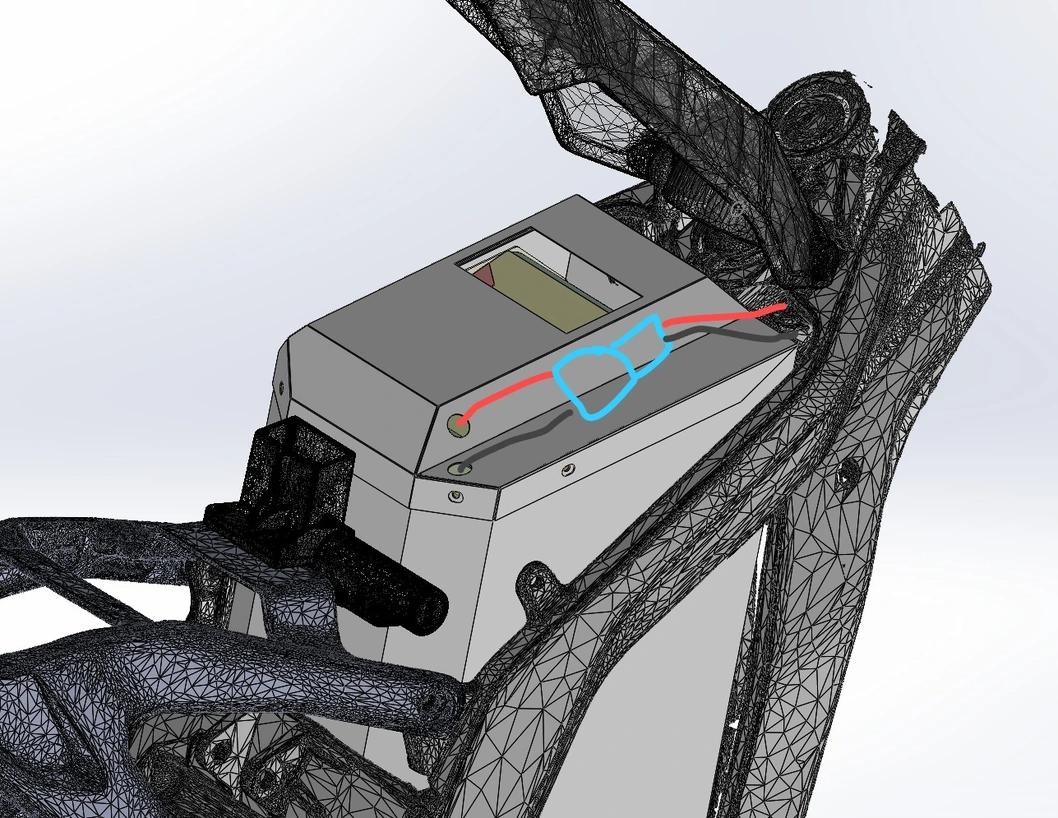
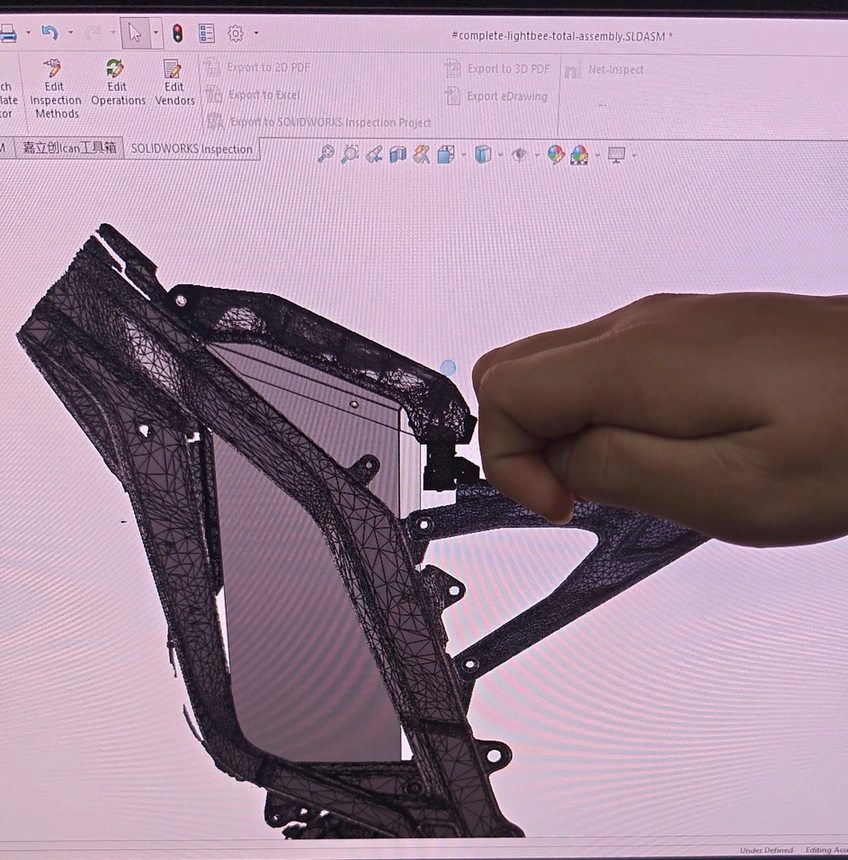
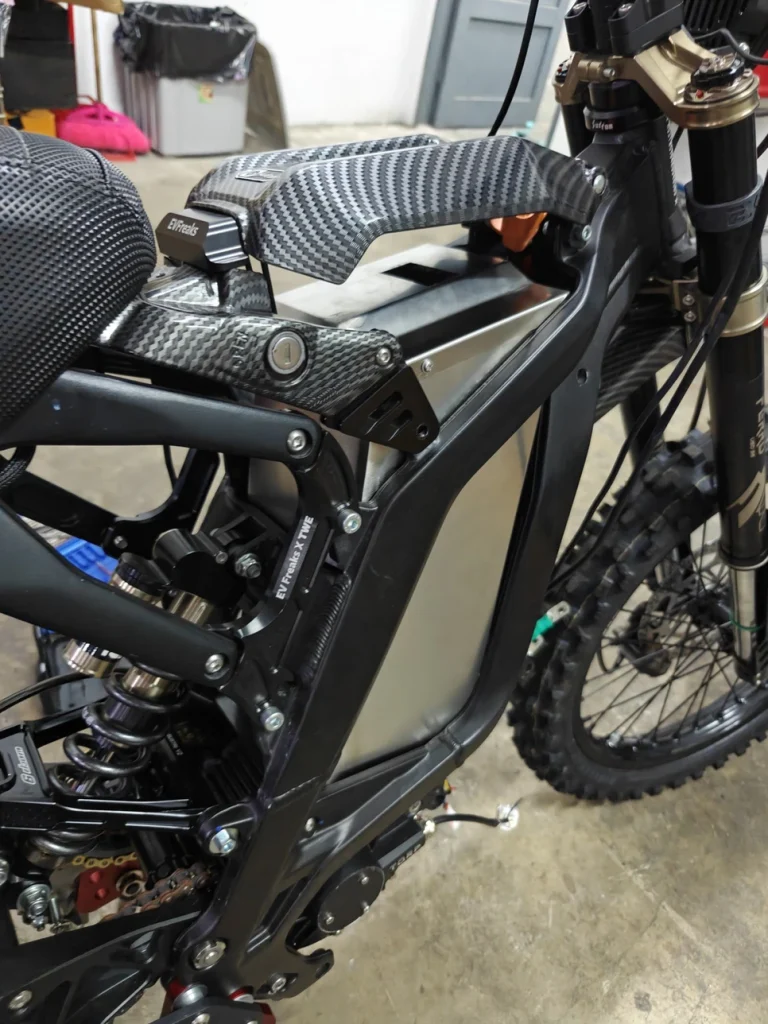
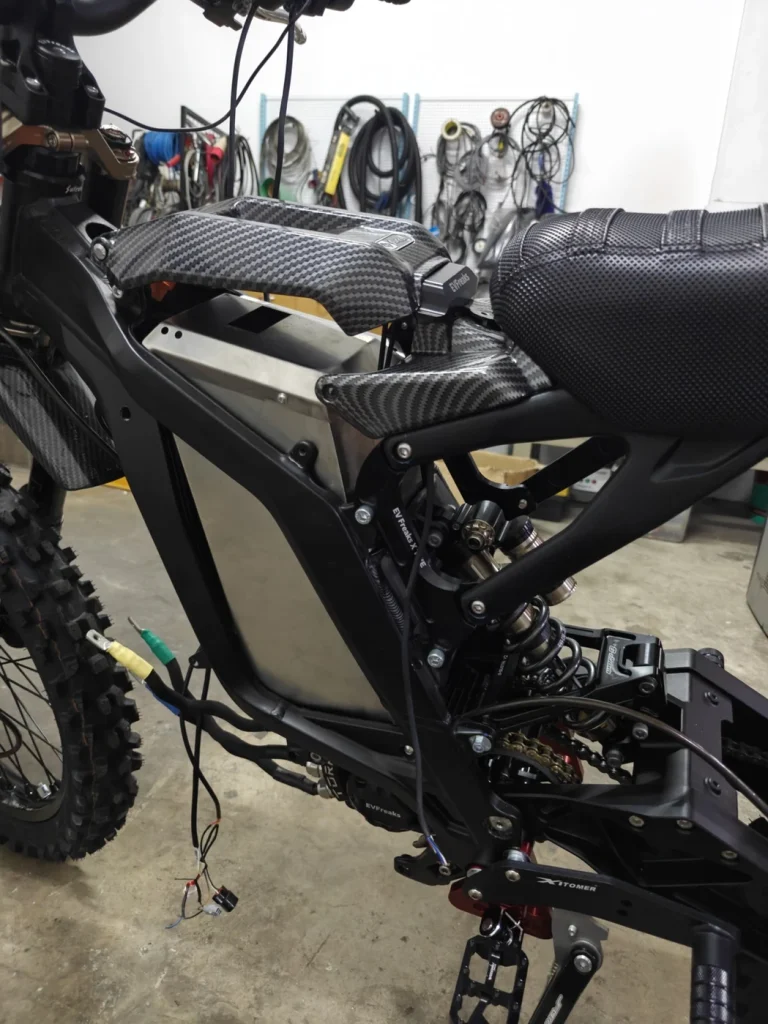
Wah this frame ah, look like got space but actually quite choosy. The Light Bee has no battery box, just a long, narrow space in the frame with one end cut at an angle where the frame bends.
Confirm cannot anyhow ignore that outline, the pack simply will not go in. We model the frame’s inside as a 3D outline, then draw the pack within that space.
Builder count every cell one by one
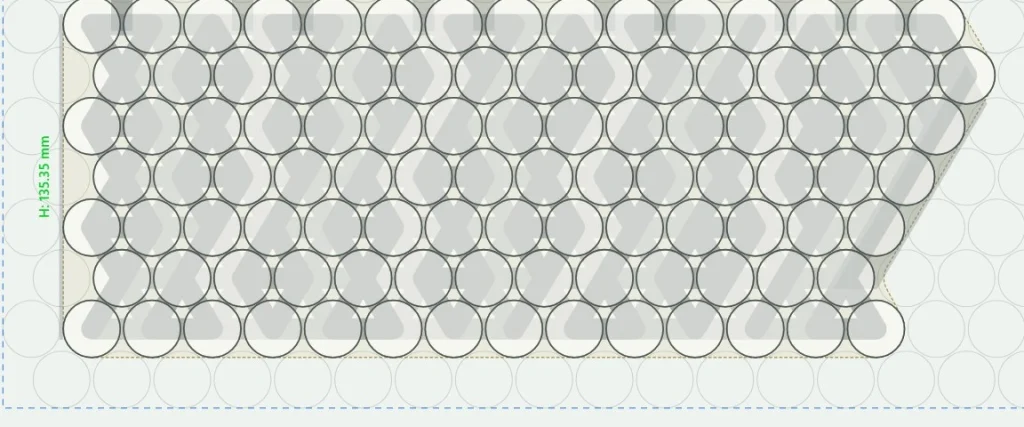
Two modules, each 10S10P, stacked into one 20S10P. That is 200 cells, and the angled end steps down group by group.
We place every cell in DogeTune Builder and assign it to its series group. It only says “Pack valid” when the cells are all placed and the series chain is complete.
20S10P · 200 / 200 CELLS PLACED · PACK VALID · 349 × 135 MM MODULE FOOTPRINT
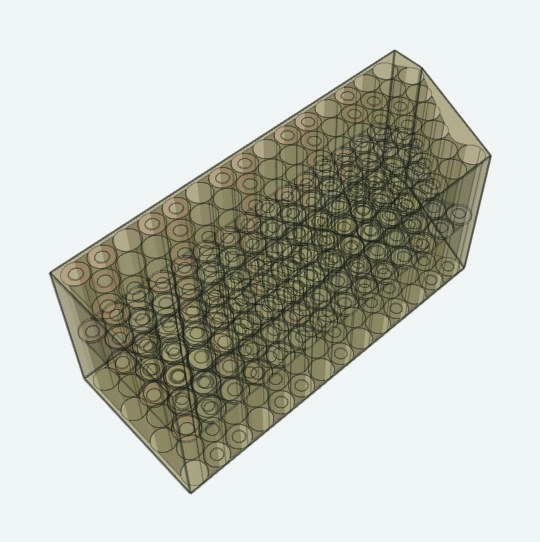
Cells in, rings on, steady lah
Cells go into a holder that matches the layout, row by row. One ring on every cell end before copper goes anywhere near them.
That small ring there, easy to forget then headache come find you. It keeps a busbar edge from shorting onto the cell can, so we put one on every cell end.
Copper cut to fit, no anyhow
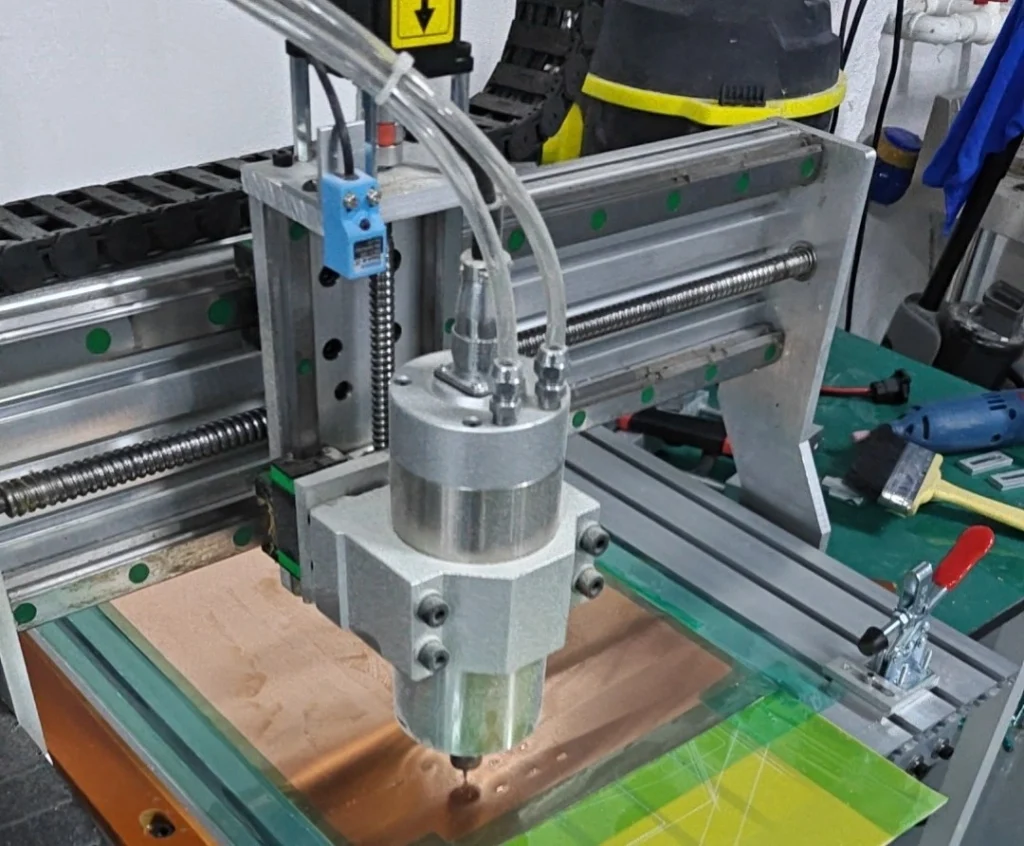
Off-the-shelf busbars for this shape? Wah, good luck ah. We cut the copper busbars on our CNC, following the series groups in the drawing.
Each piece lands on the cells it is meant to join. The outline is odd, so the copper follows the drawing instead of pretending this is a normal rectangle.
Stack the modules, run the leads
Two modules go together with insulation between them. No bare copper reunion party, please lah.
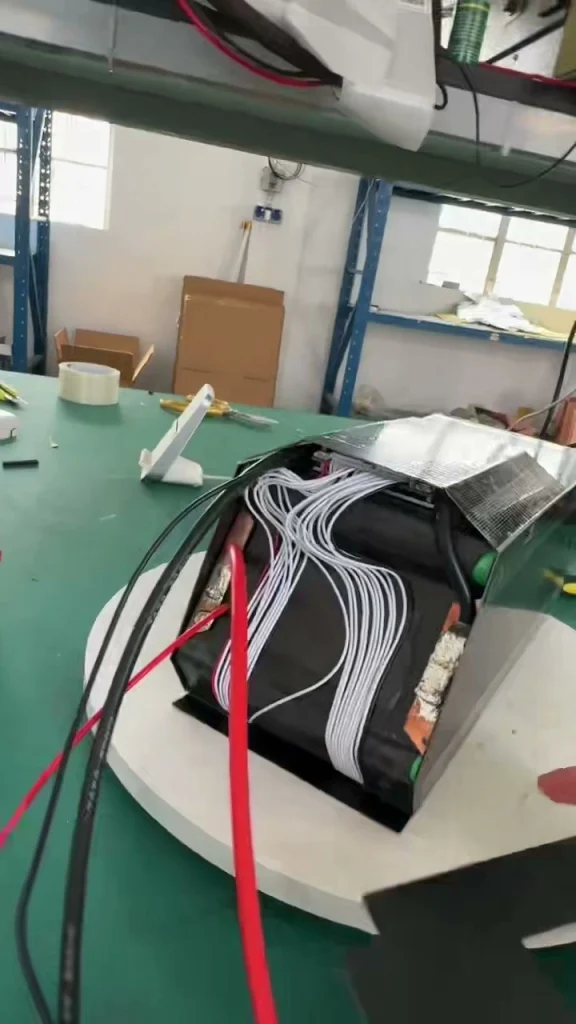
Then we run the balance leads along the pack, one to each series group, so the BMS can watch those groups.
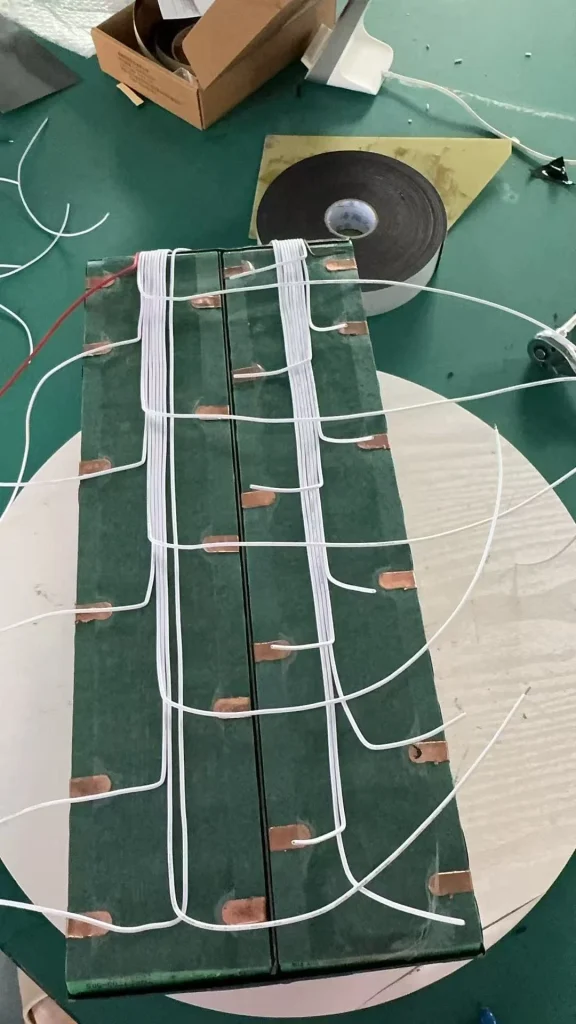
Case on, display there
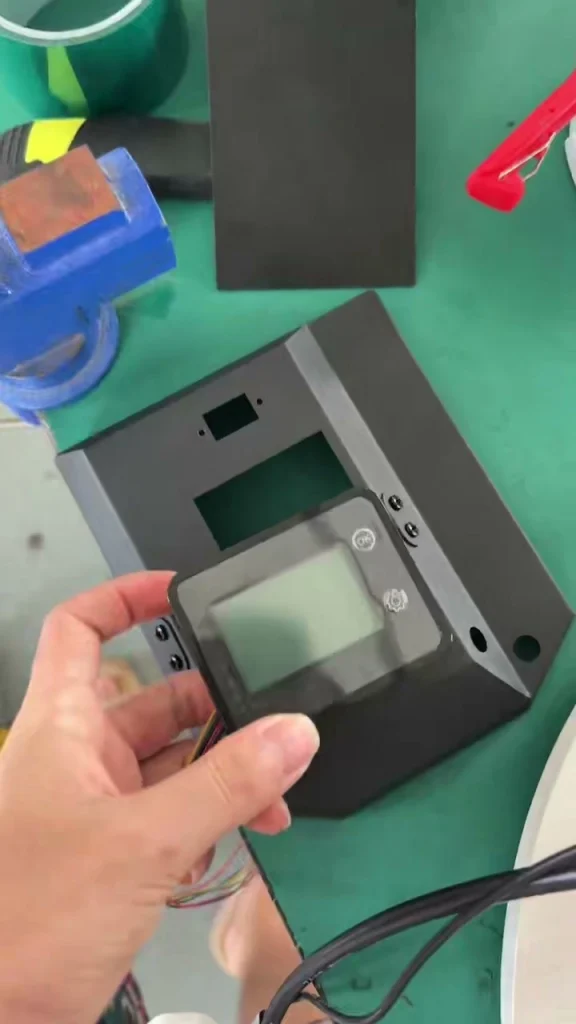
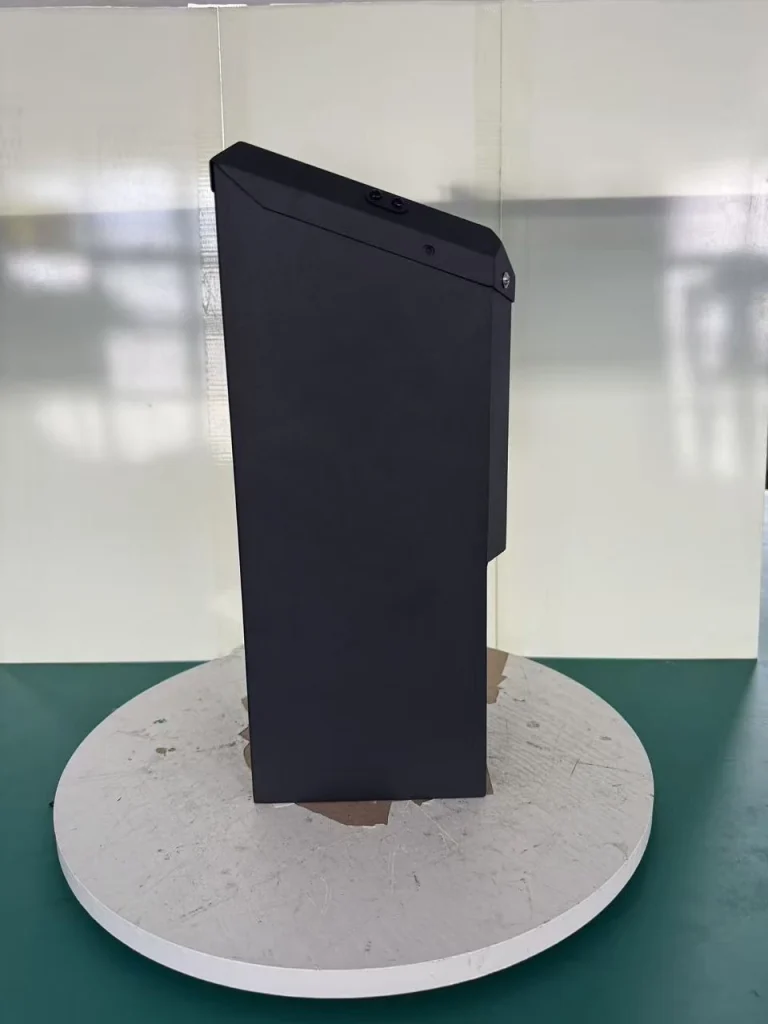
The wrapped pack slides into a case built for that same long, angled outline. This shape follows the frame space all the way in.
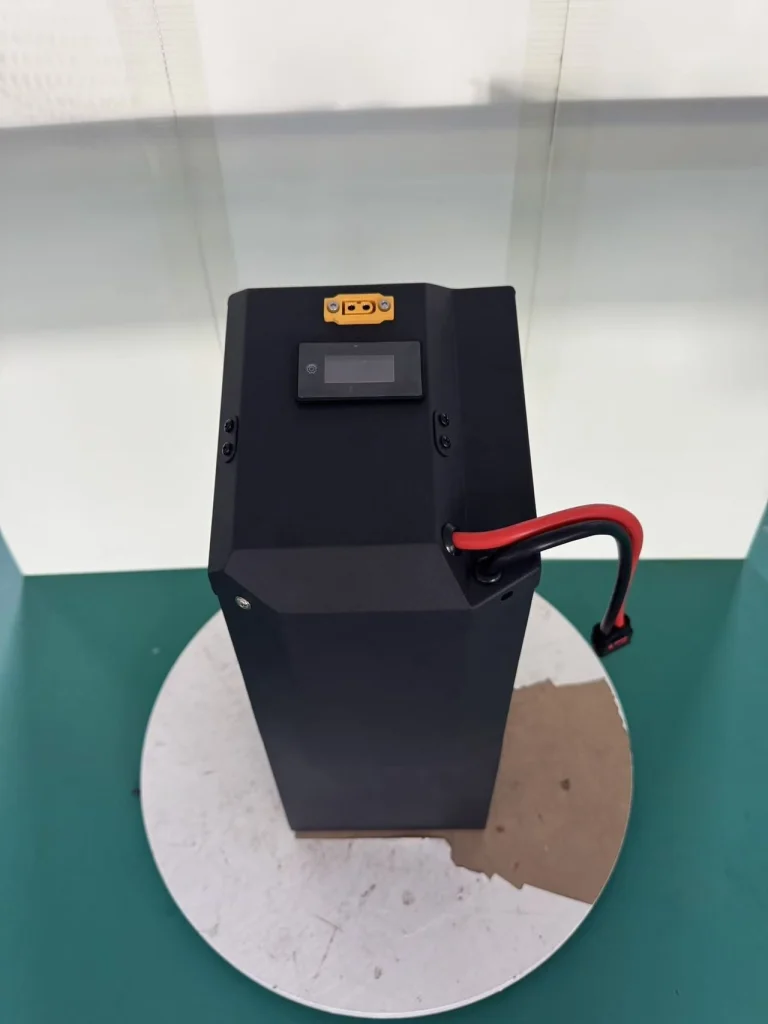
The display fits into its cut-out on top, where you can see it on your bike. There it is, no need to squint from across the carpark.
THE FINISHED PACK
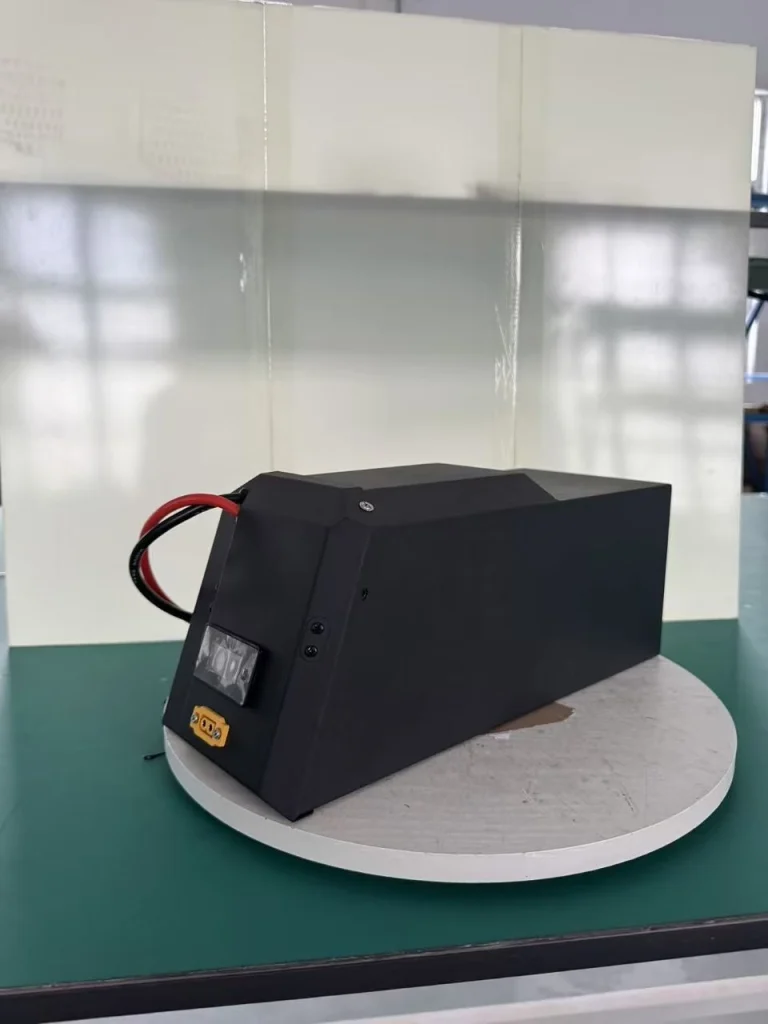
Siap! From gap to pack
Steady lah, same outline from the first drawing, now sitting in its case. Long, narrow, angled at the end, and built to sit inside the frame. Zip ties can go take a break. Then into the bike lor, case inside the frame, carbon cover closed over the top.
Got a funny battery space?
Send the frame’s inside measurements and a photo of the space.